How to Create a Shoppable Blog Post That Doesn't Feel Forced
 Syeda Rehnoma Tanzom12 min read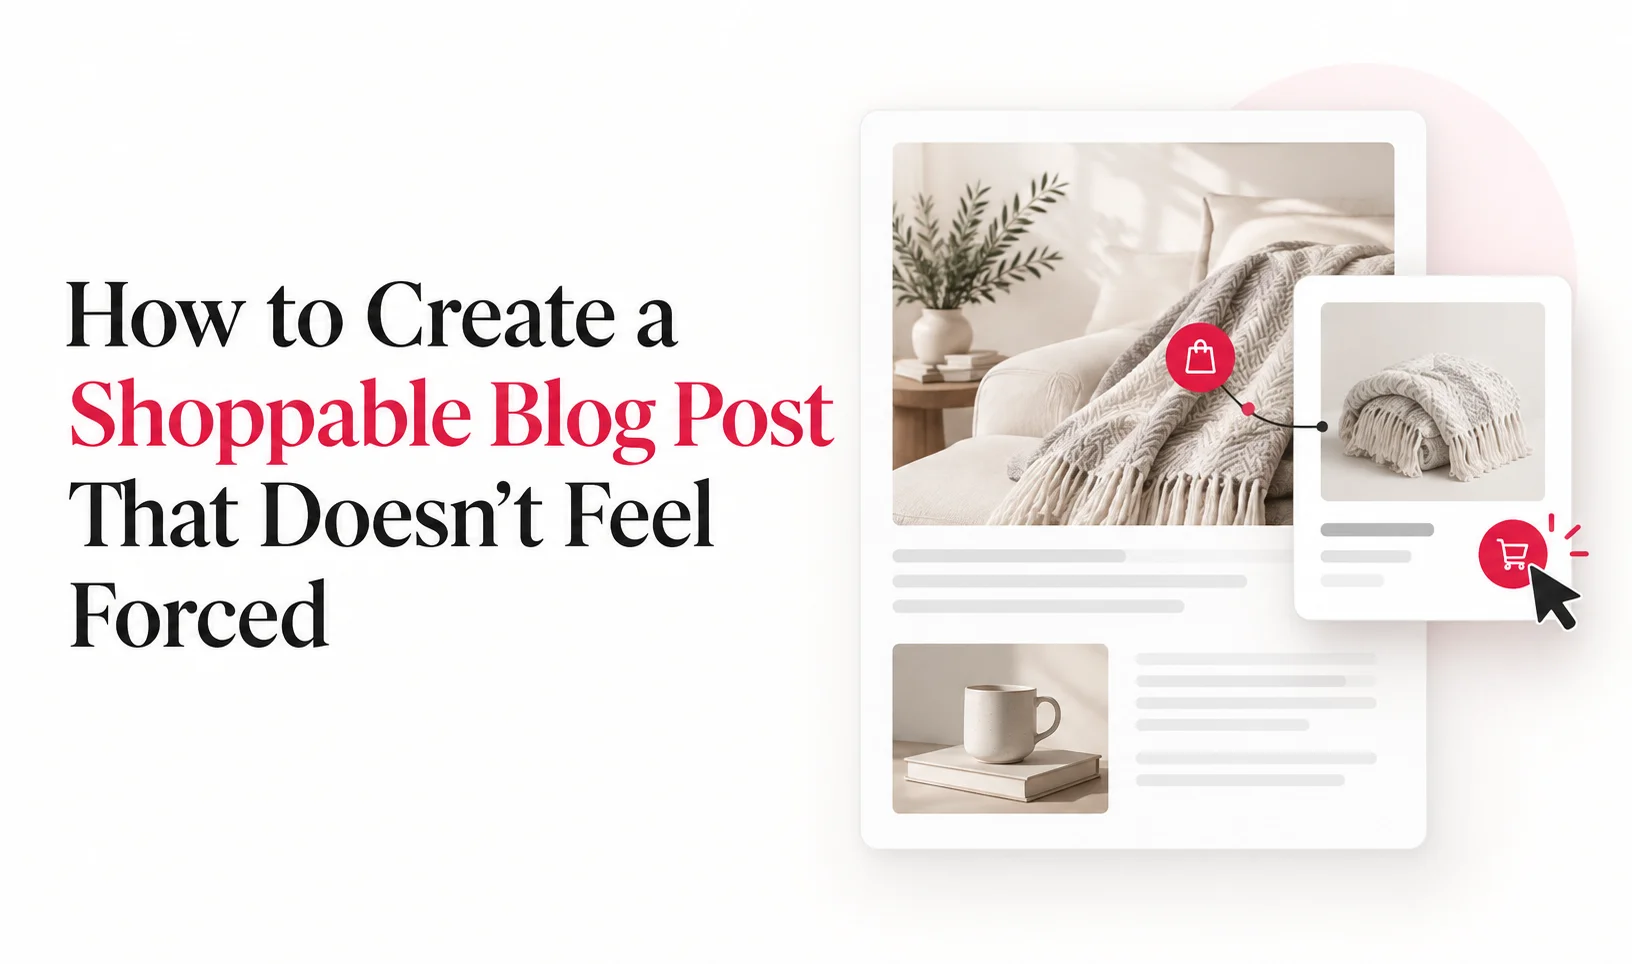
On this page
- What Is a Shoppable Blog Post?
- Can You Make Any Blog Post Shoppable?
- How to Create a Shoppable Blog Post
- Step 1: Check Whether the Post Concept Actually Fits a Product
- Step 2: Structure the Post Around Product Moments Before You Write
- Step 3: Decide Between a Single Product, a Small Group, or a Bundle
- Step 4: Write the Explanation First, Let the Product Follow It
- Step 5: Connect the Product to Your Shopify Store
- Shoppable Blog Post Checklist Before Publishing
- When Not to Make a Post Shoppable
- Conclusion
- Frequently Asked Questions
You can write a genuinely useful buying guide, tutorial, or roundup and still get stuck when you try to make it shoppable. The hard part is rarely adding a product block. It is deciding where that product belongs without turning a helpful article into something that reads like an ad.
That matters because how-to content is still a strong blog format. In HubSpot's 2025 State of Blogging survey, 51% of businesses that publish blog content said how-to guides perform well for them. Yet most advice on how to create a shoppable blog post skips straight to the technical step. The better sequence is to plan the structure first, decide where product moments naturally belong, write around those moments, and only then connect the products to Shopify.
When product placement is part of the outline, the article can explain why an item matters before asking the reader to consider it. If you are figuring out how to make a blog post shoppable, use this sequence: check fit, structure the product moments, choose the right format, write around the product, connect it to Shopify, and test the finished post.
Short Answer: To create a shoppable blog post, first make sure the topic naturally supports a product, then plan where that product should appear in the outline. Write the explanation before the product recommendation, connect the product to Shopify, and test the final post so it remains useful even if the reader does not click or buy.
TL;DR
Check whether the topic has a genuine product moment before making the post shoppable.
Plan product placements in the outline before you start writing.
Choose a single product, small group, or bundle based on what the content actually needs.
Explain the reader’s need first, then let the product recommendation follow naturally.
Connect products to Shopify and test the final post on desktop and mobile before publishing.
What Is a Shoppable Blog Post?
A shoppable blog post combines useful editorial content with relevant products that readers can explore or buy while they are reading. The goal is not to turn the article into a product page. Instead, the shopping element should appear where it naturally supports the topic, such as after a recommendation, a tutorial step, or a buying consideration.
Well-structured shoppable blog posts connect product placement with reader intent. For example, a tutorial may introduce a product after explaining why it is needed, while a buying guide may place products after comparing specific options or use cases.
Let's assume, we're preparing a blog “How to Build a Simple Home Coffee Setup.” The article might first explain why grind consistency matters, then introduce a suitable grinder directly after that section. Later, it could explain brewing methods and place a recommended brewer where it makes sense. The products are not added randomly. Each one appears because the content has already created a clear reason for the reader to consider it.
What makes this format work is context. The reader should understand why the product is relevant before seeing the product itself. That is why planning the structure and identifying product moments early is more important than simply adding product blocks after the article has already been written.
Can You Make Any Blog Post Shoppable?
Technically, many blog posts can contain a product, but not every post should be designed around one. The deciding factor is whether the reader reaches a point where a product genuinely helps them complete a task, compare an option, or act on a recommendation.
A tutorial that requires a specific tool has a clear product moment. A buying guide naturally creates several. A founder story or time-sensitive company update may have none. If the product does not answer a need created by the content, adding it usually weakens the article rather than improving it.
How to Create a Shoppable Blog Post
A good shoppable blog post starts with planning, not product placement. Before writing, decide whether the topic naturally creates a reason to recommend a product, then map those product moments into the structure. From there, choose the right product format, write the explanation first, and connect the product to Shopify only where it genuinely helps the reader take the next step.
Step 1: Check Whether the Post Concept Actually Fits a Product
Before you outline the article, ask whether the topic creates a real reason for a product to appear. Buying guides, tutorials, recipes, routines, project walkthroughs, and curated roundups often work because the content itself creates a decision point.
Use two questions before you write:
Will the reader need, compare, choose, or use a product while following this article?
Can I explain why the product belongs here before showing it?
If the answer to both is yes, the concept probably has a genuine product moment. If the second answer is no, the placement is likely to feel promotional. Understanding how products fit naturally inside a shoppable article also helps separate a useful commerce connection from a product mentioned only because space was available.
The product should support the article's job. The article should not be rewritten around whatever inventory happens to be easiest to promote.
Step 2: Structure the Post Around Product Moments Before You Write
A good shoppable blog post structure is decided before drafting. Do not write the entire article and then search for places to insert product cards. Mark the product moments in the outline first.
Think of a product moment as a point where the reader has enough context to understand why an item is relevant. The explanation comes first. The product follows because it helps the reader act on that explanation.
What This Looks Like in a Tutorial
Suppose you are writing "How to Set Up a Small Balcony Herb Garden." One section explains how shallow containers dry out quickly, while deeper planters retain moisture longer. That section creates a natural reason to show the planter you recommend.
Your outline might look like this:
Choose a location with enough light
Pick containers with suitable depth
Product moment: recommended planter
Choose soil and drainage
Plant the herbs
Set a watering routine
The product belongs to a specific step and appears only after the reader understands the need it solves.
What This Looks Like in a Buying Guide
A buying guide works differently because recommendations are the structure. Imagine an article about choosing a desk lamp for different workspaces. You might organize it around a compact desk, a shared office, late-night work, and video calls.
Each section should first explain the use case and buying criteria. Then the relevant product can appear as the practical recommendation. This outline-first approach also creates restraint. If you cannot identify a clear section that earns a product placement, you probably do not need that product in the article.
Step 3: Decide Between a Single Product, a Small Group, or a Bundle
Once you know where the product moment sits, choose the smallest format that answers the reader's need. More products do not automatically make a post more useful.
Use a single product when one item completes one step. Use a small group when the reader genuinely needs to compare a few options or complete a multi-part task. If grouping several items becomes a recurring format, a fuller framework for product recommendations inside blog posts can help keep the selection focused instead of turning every article into a catalog.
Use a bundle only when the items are genuinely meant to be used together. A beginner coffee setup could reasonably combine a brewer, filters, and a grinder if the article explains why all three belong in the setup.
The content should determine the format. Start with the reader's next action, then choose the product presentation that supports it.
Step 4: Write the Explanation First, Let the Product Follow It
A good product sentence should feel like the natural next sentence after the explanation. That means giving the reader the reason before giving them the item.
A forced version might read: "For this step, buy our stainless steel mixing bowl." Nothing in that sentence tells the reader why the bowl matters.
A more natural version would be: "A wide, stable bowl gives you enough room to fold the mixture without spilling it over the sides. If you do not already have one, a wide stainless steel bowl is a practical fit for this step."
The second version works because the need is clear before the product appears. Keep that rule throughout the article. Explain the problem, criterion, or step first, then place the product where the reader can see how it relates.
The post should also remain useful to someone who never buys. A reader should still be able to complete the tutorial, understand the buying advice, or learn from the article without clicking a product.
Step 5: Connect the Product to Your Shopify Store
The technical question of how to add products to a Shopify blog post comes after the structure and copy are settled. The exact method depends on where the blog lives and what kind of shopping experience you need.
For an external website or blog, Shopify's Buy Button sales channel can create embeds for a single product or a collection. A product Buy Button can include all variants or a selected variant, and Shopify says updates to product details in the admin appear on the Buy Button. Shopify also cautions against placing Buy Buttons on a Shopify-hosted online store or Shopify blog because they can cause cart problems, recommending cart permalinks instead for those pages.
EmbedUp is another option for content that lives outside the storefront. You can embed products, variants, and collections on WordPress, Webflow, Wix, landing pages, and affiliate sites.

The difference between these two is straightforward: EmbedUp requires installing a third-party app, while Buy Button is a Shopify sales channel.
Whichever route you use, avoid manually typing prices or variant information into the article when the shopping element can pull product information from Shopify. Static details are easier to forget when products change.
Shoppable Blog Post Checklist Before Publishing
Before publishing, check the article as both a reader and a buyer:
The product still matches the exact section surrounding it.
The explanation makes sense before the product appears.
Price, variant, and availability information comes from the connected shopping element where possible.
The embed renders correctly on desktop and mobile.
Variant selection, cart behavior, and checkout actions work as expected.
The post still reads clearly for someone who never clicks the product.
Product groups are small enough to support the section rather than overwhelm it.
Every placement has a reason you can explain in one sentence.
If one of these checks fails, fix the content or placement before adding more products. A shoppable article is still an article first.
When Not to Make a Post Shoppable
Do not make a post shoppable just because the store has products to sell. Some posts have a different job, and adding commerce elements can distract from it.
A brand story may exist to explain how the company started. An opinion piece may exist to establish a point of view. A time-sensitive update may exist to communicate news quickly. A broad SEO article may answer an informational question without creating any natural product decision.
In those cases, a relevant text link may be enough, or the article may need no product at all. Use a simple test: if removing the product makes the article clearer and does not take away a meaningful next step for the reader, the product probably was not necessary.
This is why the fit check belongs at the beginning. It is easier to decide not to build a post around products before writing than to remove forced placements after the draft is finished.
Conclusion
Learning how to create a shoppable blog post is less about adding a shopping widget and more about planning where commerce belongs in the reading experience. Start with a fit check, mark product moments in the outline, choose the smallest format that supports the content, write the explanation first, and connect the product only after the article works on its own.
That sequence helps one post stay useful while still giving readers a practical next step. If you later want to turn that approach into a broader content revenue model, the next question is how to monetize a blog with products across multiple articles rather than how to structure one good post.
Frequently Asked Questions
Do I need an app to make a Shopify blog post shoppable?
Can an existing blog post be made shoppable, or does it have to be planned from the start?
How many products should one shoppable blog post include?
Which blog post formats work best for shoppable content?
Does a shoppable blog post hurt SEO if it looks promotional?
- how to create a shoppable blog post
- how to make a blog post shoppable
- shoppable blog post structure
- how to add products to a Shopify blog post
- shoppable blog post checklist
Related articles
 Content Commerce
What Are Shoppable Blog Posts? What Actually Makes One "Shoppable"?
A shoppable blog post is a written piece of content, like a buying guide, tutorial, or recipe, where a product is embedded directly in the page with live pricing and a way to buy, right at the point where the content makes the reader want it. It's different from a "shoppable post" on social media, and not every blog post needs to be one.
8 min read
 Embed Shopify Products
Food Bloggers: How to Sell Recipe Ingredients Online Without Losing Your Readers
This guide shows food bloggers and Shopify brands how to sell recipe ingredients directly from their content using shoppable product cards, ingredient bundles, live Shopify data, and affiliate tracking. It explains how EmbedUp can connect recipe pages with Shopify products, reduce unnecessary buying steps, and turn useful food content into a measurable sales channel without requiring custom development.
12 min read
 Content Commerce
Shoppable Content Commerce: How Brands Turn Content Into Sales
Shoppable content commerce connects useful blogs, guides, and recipes with relevant products at the moment readers are ready to act. It helps Shopify merchants turn existing content into measurable sales opportunities without disrupting the reading experience.
15 min read